Deck Building Tips Courtesy of Econodek
The following Econodek deck building tips are designed to help you build a sturdy foundation and properly prepare the deck surface prior to installing our Econodek easy-to-install, waterproof outdoor vinyl deck flooring.
TIP 1: WOOD ISN’T YOUR ONLY DECK SURFACE OPTION
When it comes to outdoor deck surfaces, the choices are far more varied than just plain wood. A sundeck covered with Econodek™ vinyl decking is one of the easiest and most effective methods to create a beautiful waterproof sundeck, one that is not only aesthetically pleasing but also durable and adds value to your home. Below are more deck building tips that offer a general outline for how to properly build a deck plus waterproofing your plywood decking with Econodek vinyl deck flooring. Always check your local building codes to ensure proper deck design and construction.
TIP 2: DECIDE WHERE TO BUILD THE DECK
Think about exactly where, relative to your house, your new sundeck is going to be built. The location, deck design, and construction materials are your most important considerations. Should it be directly in the sun, in the shade, or built near the pool? What type of access should your new sundeck have to the house and how does it relate to the neighbors’ house and your property lines? This takes us to deck building Tip #3.
TIP 3: GET A DECK BUILDING PERMIT
The last thing anyone wants is to spend a whole summer building a beautiful sundeck, only to find out it must be removed because no deck building permit was acquired. There are local building codes to abide by in every city. Even if you are building a small deck that will be low to the ground, deck building permits should be researched for every project. Check regulations where you live to confirm what deck building permits are required.
TIP 4: DIG DEEP DECK FOOTINGS
Start by reviewing the joist/beam spacing and carefully locate the deck footing holes before digging. Remember your footings are going to support not only the weight of the sundeck but also the people using the deck. Check the local building codes in your area to find out how deep you have to dig for the deck footings. This will depend on the frost line and soil conditions in your climate area.
TIP 5: LEDGER BOARD FOR DECK ATTACHMENT
This is an extremely important deck building tip. A ledger board is typically a 2”×8” or 2”×10” plank that is attached to the home and will support the sundeck. When installing the ledger board, it needs to be level and flat. The ledger board for deck attachment should be cut to the correct length the first time. Trying to move a ledger board once it’s been bolted to the house is a waste of time and money. The ledger board should be positioned at the appropriate height for your new sundeck and attached squarely to the home, which might mean having to remove some siding to create a flat surface. Be sure to pre-plan where your fasteners and lag screws will be located for the ledger board attachment so that they do not interfere with your metal deck joist hangers. This decks.com page offers more detailed information on Attaching A Ledger Board for Your Deck.
TIP 6: DECK BOARD CROWN UP OR DOWN?
Your deck board crown should face up. Be sure to adhere to this deck building tip. The deck’s wood joists determine the level of the deck floor. However, since the joist boards are not always perfectly straight, you could still end up with a wavy floor. If a board has a curve to it, the raised side or outer curve is known as the crown. You can determine where the crown is by holding one end of the board and letting the other end remain on the ground. Turn the board so the wide side is horizontal to the ground. Then, bring the end of the board you’re holding up to eye level and look down the board. The board will likely curve to the left, or curve to the right. For a left-hand curve, mark an X on the edge of the board where that curve is located. For the right-hand curve, do the same. These Xs represent the crowns of the boards. When installing the joists, make sure the crowns (Xs) faces up. With a raised crown facing up, the board will tend to flatten out over time rather than sag. Use metal joist hangers at ledgers and toenail them to the wooden beam using galvanized nails. The spacing between the joists should conform to your area’s building code requirement for the size of deck you are building and the length of the joists you are using. Your joise spacing will also be reliant on the plywood width and the width of the Econodek™ waterproof vinyl deck flooring you are using.
TIP 7: USE PLYWOOD DECK WATERPROOFING
We recommend using exterior grade, tongue and groove, standard 5/8” or 3/4” untreated plywood for waterproof deck surface. Also use treated deck screws to fasten the tongue and groove plywood to the wood joists. Screws provide a better grip than nails and screws don’t relax the way nails do once the sundeck has been used for many years. Screw plywood decking every 6″ around the perimeter and use 6″ spacing on the center joists. Ensure that you set the screw heads just below the deck surface and stagger the layout of your plywood sheets leaving 1/8″ expansion joints between all panels. DO NOT USE TREATED PLYWOOD!
TIP 8: INSTALL ECONODEK™ VINYL DECK FLOORING
When your beautiful new sundeck is complete, follow the Econodek™ vinyl deck flooring installation instructions to properly install the waterproof membrane for decks. See our page entitled What Is Econodek for more product information. Please read the installations instructions provided in the vinyl deck flooring Installation Brochure, or watch the Installation Video, before you attempt to install Econodek™ vinyl decking! For additional construction information, Econodek™ recommends that you consult your local building codes and building specialists in your area. If you still have questions about how to properly build your sundeck in preparation for Econodek vinyl deck flooring installation, please call our deck specialists and support team toll free at 1-877-860-9333, or email us at info@econodek.com.


Econodek Vinyl Decking Designs
- Premium Cobalt

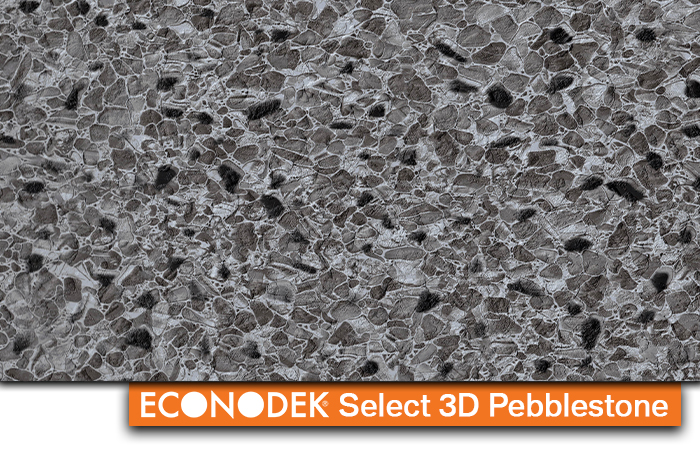
- Select 3D Pebblestone

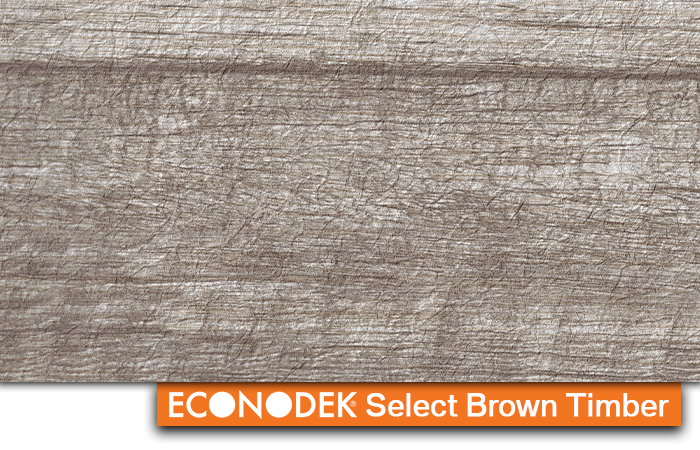
- Select Brown Timber

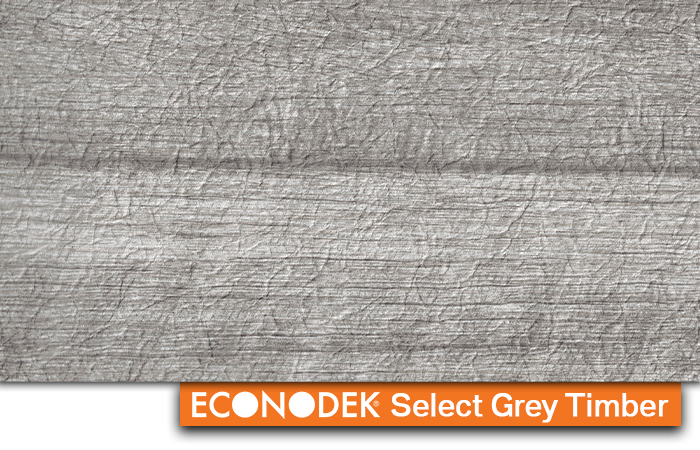
- Select Grey Timber

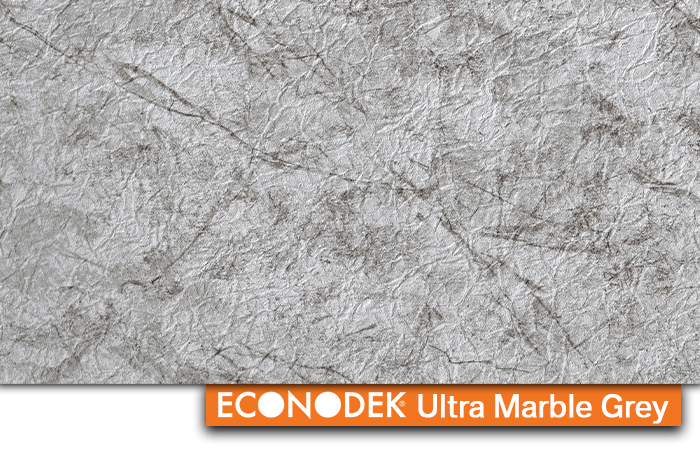
- Ultra Marble Grey

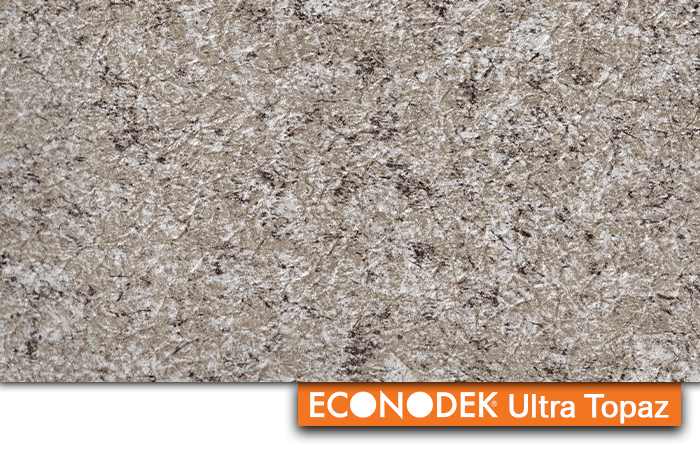
- Ultra Topaz

- Ultra Agate